How to Pull a Perfect Espresso Shot at Home: A Beginner’s Tutorial

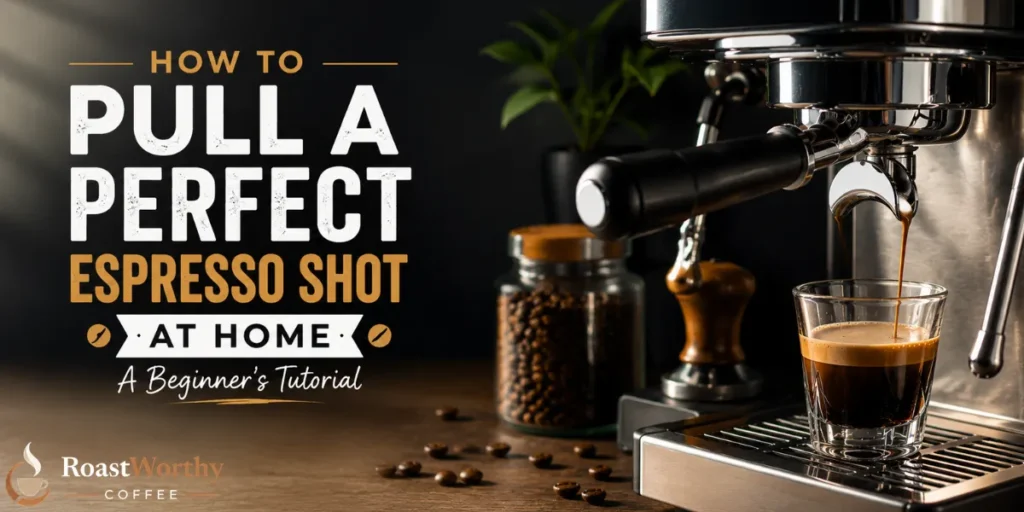
Pulling a perfect espresso shot at home is not complicated. It just requires you to control the right variables — and stop guessing on the wrong ones.
Most beginners obsess over the machine. The machine matters less than you think. Grind consistency, dose weight, and extraction time? Those are the numbers that determine your shot.
Let's get specific.
What You Actually Need to Pull Espresso at Home
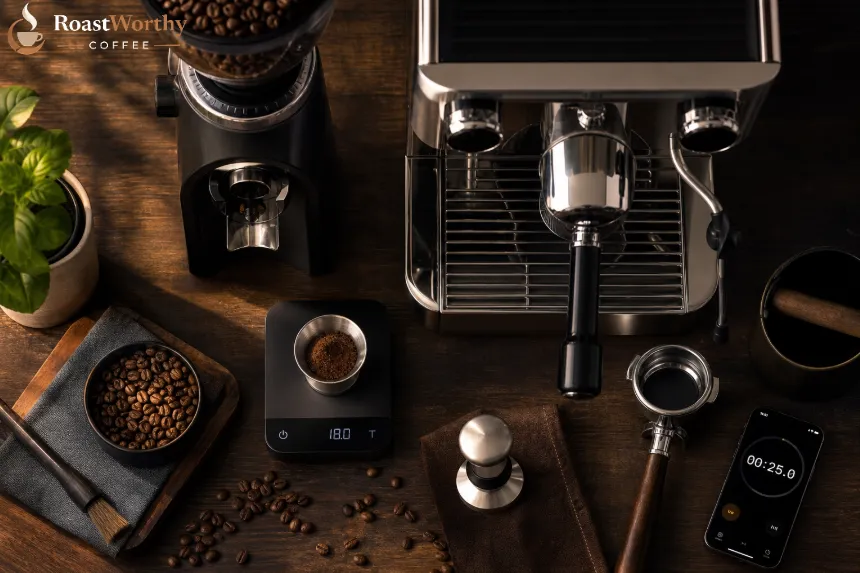
You don't need a $2,000 machine to start. But you do need a few non-negotiables:
The scale and timer are not optional accessories. They are your feedback system. Without them, you are just guessing. ⚗️
Understanding the Espresso Ratio
Before you grind anything, know your target.
The standard espresso ratio is 1:2 — meaning 1 gram of ground coffee produces 2 grams of liquid espresso in the cup.
So if you dose 18g of coffee, you're aiming for 36g of liquid espresso out.
That's your baseline. Write it down. Every adjustment you make is relative to this number.
A shorter yield (1:1.5) gives you a ristretto — concentrated, syrupy, less bitter. A longer yield (1:2.5 or beyond) moves toward a lungo — more volume, thinner body, higher risk of bitterness.
Start at 1:2. Nail it. Then experiment.
Grind Consistency: The Variable Most Beginners Get Wrong
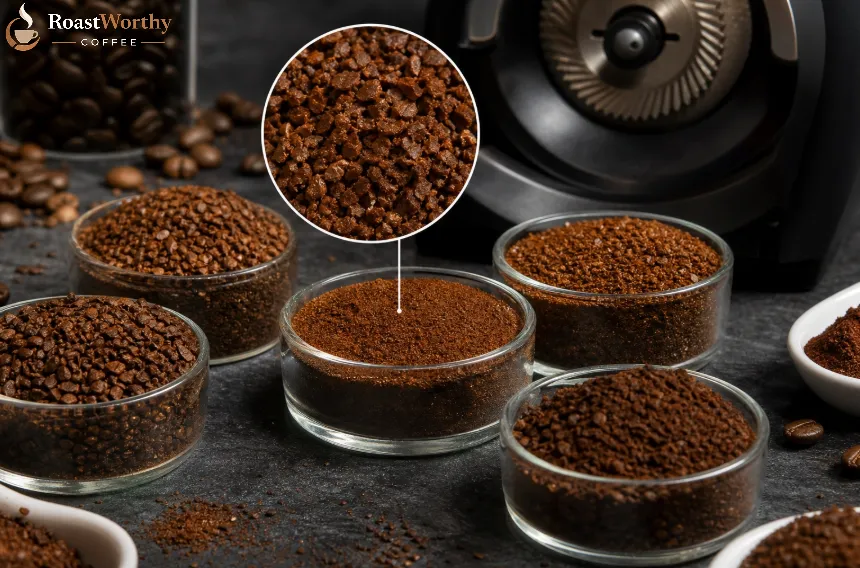
Your grind is doing more work than your machine.
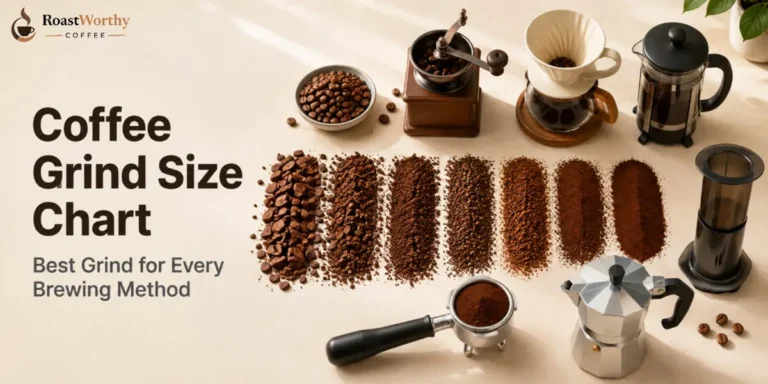
Grind size controls extraction rate. Finer grind = more surface area = faster extraction = higher risk of over-extraction (bitter, astringent). Coarser grind = less surface area = slower extraction = higher risk of under-extraction (sour, weak).
For espresso, you want fine — but not powder. The texture should feel like table salt or slightly finer.
Here's what grind inconsistency actually does: it creates channels in your puck. Water finds the path of least resistance. Some coffee extracts fast, some extracts slow. The result is a shot that tastes like both — sour and bitter at the same time.
That's a channeling problem, and it starts at the grinder. 🔥
Fix it: Use a quality burr grinder. If you're on a budget, the Baratza Encore ESP or 1Zpresso JX-Pro manual grinder are solid starting points.
How to Dose and Distribute Properly
Dosing is weighing your ground coffee into the portafilter basket.
Most double-basket portafilters work best with 17–19g. Check your basket's rated capacity — it's usually stamped on the side or listed in the manual. Start at 18g and adjust from there.
After grinding, distribute your grounds evenly before tamping. You can use your finger, a distribution tool, or the Stockfleth's move (look it up — it's worth 30 seconds on YouTube).
Uneven distribution = uneven extraction. Full stop.
Tamping: Pressure, Angle, and What Actually Matters
Tamping is applying consistent pressure to compress your coffee puck.
The goal is a flat, level surface. Not maximum force.
The 30lbs of pressure rule gets repeated everywhere. It's not wrong, but it's also not the point. Level matters more than pressure. A crooked tamp creates a slanted puck — water flows to the low side and channels through.
Here's how to tamp correctly:
- Rest the portafilter on a flat surface or tamping mat
- Position your tamper straight — wrist neutral, elbow at 90°
- Press down firmly and evenly — no rocking, no twisting
- Give it one firm, even press and stop
- The surface should look flat and smooth, no loose grounds on the edge
Wipe the rim of the portafilter with a dry cloth. Lock it into the group head immediately and start your shot. Don't let it sit.
Extraction Time: The 25–30 Second Window
Lock your portafilter in. Start your timer. Start your shot simultaneously.
Target: 36g of espresso out in 25–30 seconds, from a dose of 18g in.
The first few seconds will produce little to nothing — this is pre-infusion. Then the espresso will flow. Watch the colour: it should start dark amber, transition to caramel-golden, and then lighten.
Stop when you hit your yield target — not when you hit 30 seconds. Weight is your primary target. Time tells you if your grind is calibrated correctly.
| Shot Time | What It Means | Fix |
|---|---|---|
| Under 20 sec | Grind too coarse or dose too low | Grind finer / increase dose |
| 25–30 sec | Dialled in ✓ | Stay here |
| Over 35 sec | Grind too fine or dose too high | Grind coarser / reduce dose |
One variable at a time. Change the grind. Pull again. Log the result.
Reading Your Crema
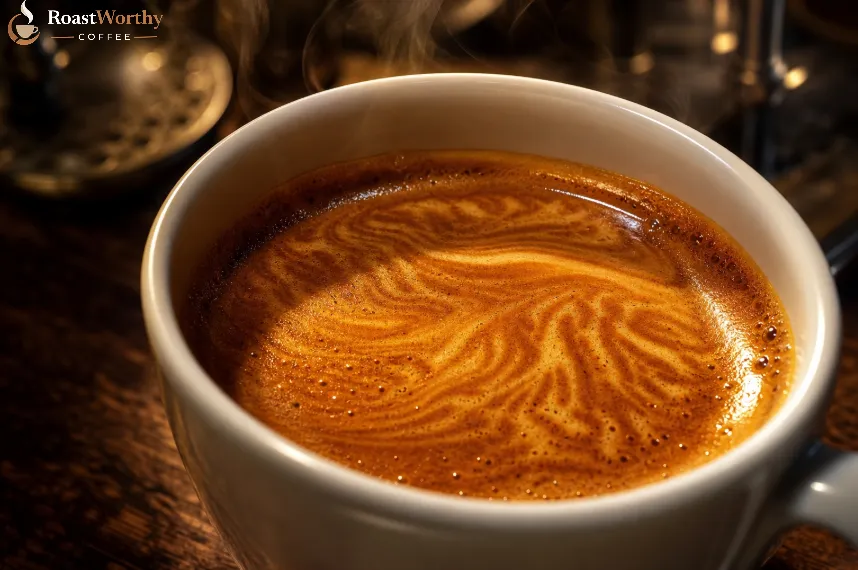
Crema is the reddish-brown foam that sits on top of your shot.
It forms from CO₂ trapped in the coffee being released under pressure — roughly 9 bars for most home machines. Fresh beans produce crema. Stale beans don't. It's that simple.
Good crema is:
What crema tells you about your shot:
Crema is a diagnostic tool. Taste it after you read it. ☕
Tasting Your Shot: What to Look For
Let's be honest — most first espresso shots at home taste either too sour or too bitter. That's normal.
Here's what each problem tells you:
Sour / sharp / acidic: Under-extracted. The sugars haven't dissolved yet. Grind finer, extend your extraction time, or increase your dose.
Bitter / dry / astringent: Over-extracted. You've pulled too many compounds from the coffee. Grind coarser, shorten extraction, or reduce dose.
Flat / watery / no body: Channeling, or your ratio is too long. Tighten your distribution and check your tamp.
A well-extracted espresso tastes sweet with a pleasant bitterness — like dark chocolate, stone fruit, or caramel, depending on the bean origin and roast level. The aftertaste should linger, not burn.
Taste it. Write it down. Pull it again.
Common Mistakes Beginners Make (and How to Fix Them)
Dialling In: The Process That Makes It Repeatable
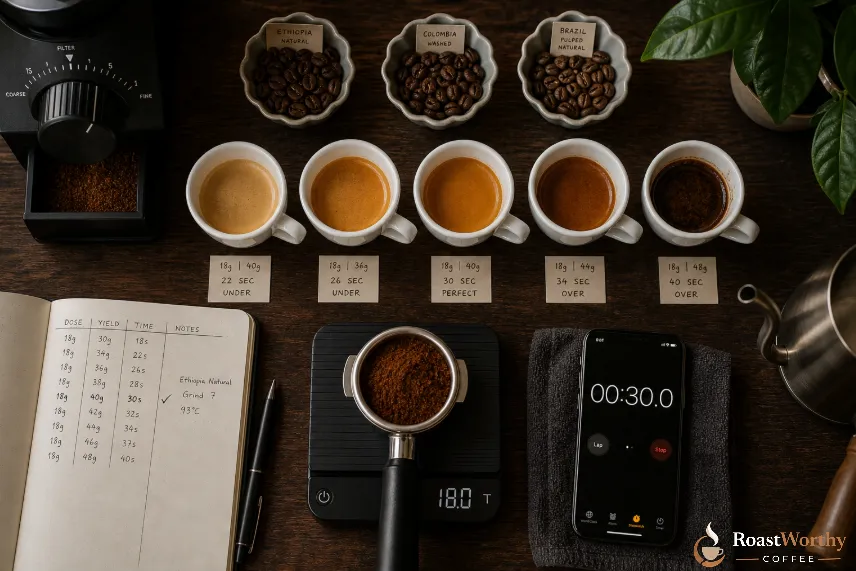
Dialling in means finding your machine's ideal settings for a specific bean and then locking them in.
Every new bag of coffee needs a dial-in. Origin, roast level, and density all affect extraction differently. A light-roasted Ethiopian natural pulls differently than a dark-roasted Brazilian. The variables are the same — the settings will not be.
Your dial-in process:
- Start at 18g in, targeting 36g out in 25–30 seconds
- Pull the shot, taste it, read the crema
- If sour → grind finer
- If bitter → grind coarser
- Adjust one variable, pull again
- Repeat until the shot tastes sweet and balanced
- Log the final grind setting, dose, yield, and time
Your first roast — your first shot — will be imperfect. Make it anyway.
TL;DR — Key Takeaways for Espresso at Home
FAQ — Espresso Shot at Home
How long should an espresso shot take to pull?
25–30 seconds from the moment you start the pump. If it's faster, grind finer. If slower, grind coarser.
What is the correct espresso ratio for beginners?
Start with 1:2 — 18g of coffee in, 36g of liquid espresso out. This is the standard double shot ratio used in most specialty cafés.
Why does my espresso taste sour?
Sour espresso is under-extracted. The water hasn't dissolved enough sugars from the coffee. Grind finer, increase dose slightly, or extend extraction time.
How do I get crema on my espresso at home?
Use freshly roasted beans (7–21 days off roast), maintain proper extraction pressure (around 9 bars), and ensure your grind is fine enough. Crema is CO₂ released under pressure — stale beans have no CO₂ left.
Do I need an expensive espresso machine to pull a good shot?
No. A mid-range machine like the Breville Bambino Plus paired with a quality burr grinder will outperform an expensive machine paired with a blade grinder, every time. Invest in the grinder first.
What grind size is best for espresso at home?
Fine — similar to table salt or slightly finer. It should pack firmly when tamped and offer visible resistance to water flow. If your shot pours like water, go finer.
More Recommendations from RoastWorthy Coffee