How to Dial In Espresso: A Step-by-Step Guide for Beginners

Your first espresso will taste bad. Sour, bitter, or somehow both at once. That's normal. Don't quit over it.
To dial in espresso simply means to adjust a few numbers — grind, dose, yield, time — until the shot tastes right. That's the whole job. No magic. No barista gatekeeping.
Here's what the water is actually doing. It's pushing through a puck of ground coffee under about 9 bars of pressure… pulling flavor out as it goes. Too little contact and it's sour. Too much and it's bitter. The sweet spot in the middle is what we're chasing.
I'll hand you real numbers. Real ratios. A recipe you can copy in the next ten minutes. 🔥
TL;DR — The Beginner Recipe
Sour? Grind finer. Bitter? Grind coarser. Then taste… and go again.
What “Dial In Espresso” Actually Means
When people say they need to dial in espresso, they mean they're tuning the grind and recipe until the shot tastes balanced. You're matching three things to each other: your machine, your grinder, and the specific bag of beans in front of you.
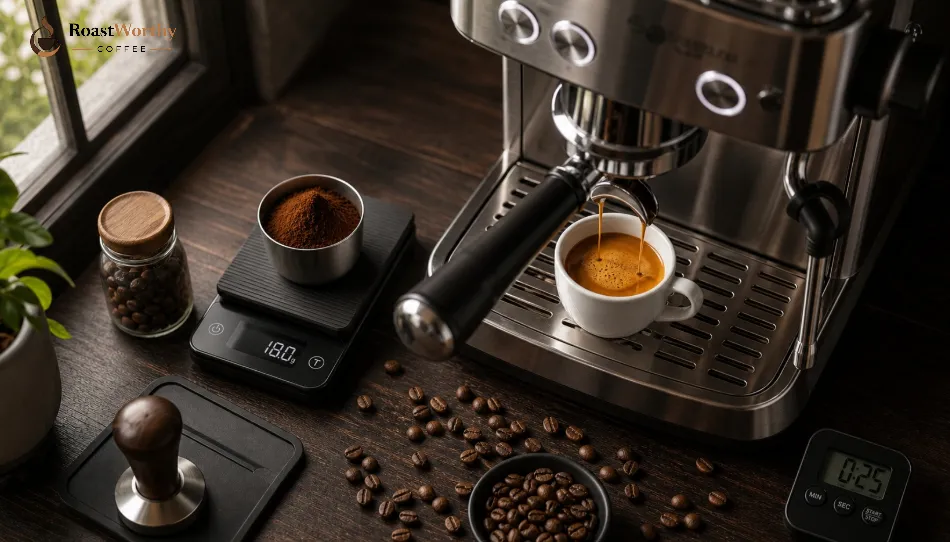
That last part trips up beginners. Every coffee is different. A light Ethiopian and a dark Italian blend need completely different grind settings. So you run a fresh espresso dial-in every time you open a new bag. It's not a one-time setup — it's a small routine.
Three numbers control the entire process:
Get those three talking to each other and the flavor follows. The whole game is: change one thing, taste, repeat.
The Only Gear You Actually Need
You don't need a $3,000 machine. You need to measure things. That's the difference between guessing and dialing.
One more thing: fresh beans. Coffee pulls best from about 4 to 21 days off the roast. Beans you dialed in perfectly last week will taste flat and lifeless a month later. Freshness is a variable too. ☕
Step 1: Lock In Your Dose
Pick a dose and commit to it. For a standard double basket, 18g is the ideal starting point.
Weigh it every single time. 18.0g. Not 17.5g, not “close enough.” Consistency here removes one variable so you can trust the two that are left.
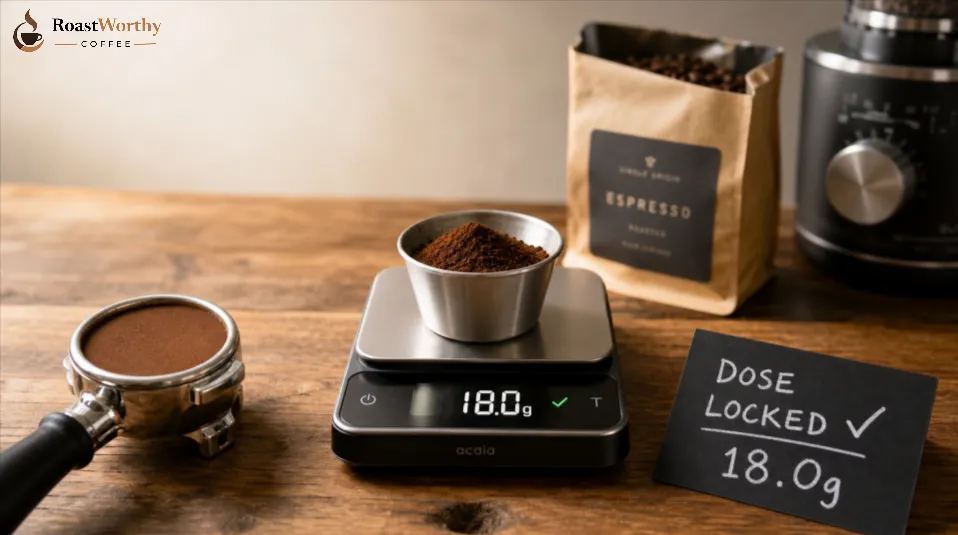
Here's why the dose gets locked first. It sets the amount of coffee you're extracting from. If you change it halfway through the process, every other number shifts with it… and you're back to square one. So lock it, leave it, move on.
Quick note on roast level. Lighter roasts are denser and harder to extract. If your light-roast shots taste sour no matter what you do, try dropping to 16–17g in the same basket. Darker roasts are more soluble, so 18g or even a touch more works fine.
Step 2: Set Your Grind Size — The Rough Pass
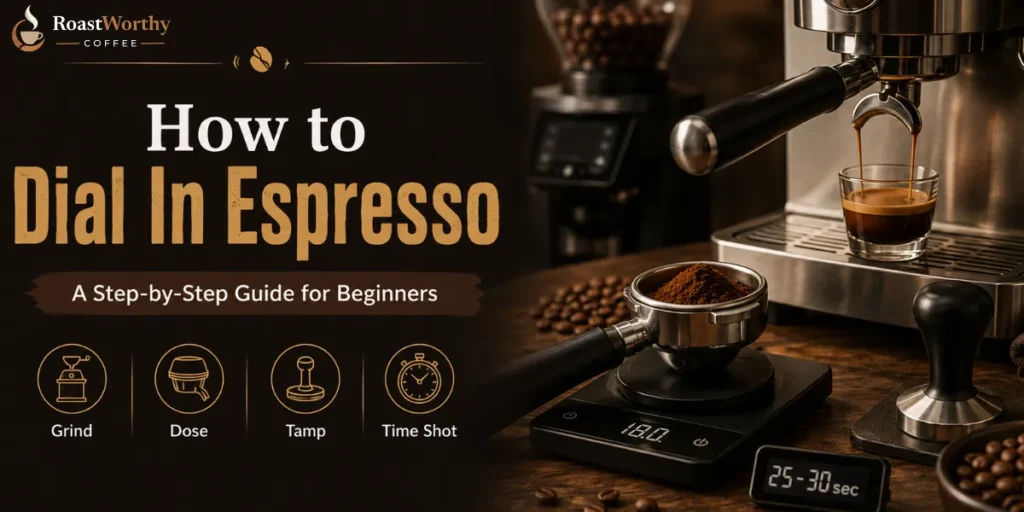
This is where the real grind adjustment begins. Right now your only goal is to land in the ballpark: a 1:2 shot finishing somewhere around 25–35 seconds.
Pull one test shot at your current setting. Watch the clock the whole time.
Picture rocks versus sand. Water races through the gaps between rocks. It struggles slowly through packed sand. Coarser grind = faster flow. Finer grind = slower flow. That's the entire mechanism, and once it clicks, dialing gets a lot less mysterious.
Adjust in small steps. One or two clicks on your grinder at a time. Espresso is sensitive — a tiny grind change swings the shot time by seconds.
And purge a little coffee through the grinder after each change. Old grounds trapped in the burrs from the last setting will contaminate the next shot and lie to you about what's happening.
Step 3: Set Your Yield and Ratio
Ratio is dose to yield. Start at 1:2, every time. 18g in, 36g out.
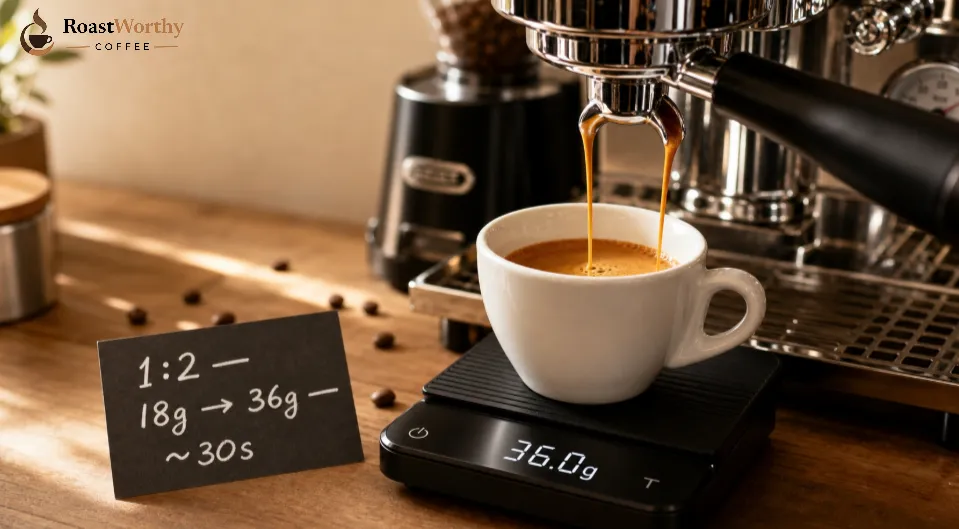
Why 36g? Because a 1:2 ratio gives a balanced, forgiving shot that flatters almost every coffee. It's the specialty-coffee default, and it's the default for a reason — it works.
Put your cup on the scale. Tare to zero. Pull until the liquid hits 36g, then stop the shot. Note how long it took.
You now have a baseline recipe: 18g → 36g in roughly 30 seconds. Write it down. This single line of notes is the foundation of your entire espresso dial-in.
Step 4: Taste It. Then Adjust.
This is the step beginners skip — and it's the most important one. Taste is the boss. The numbers only exist to serve the taste.
Stir the shot first, so the layers mix. Then sip and diagnose:
| What it tastes like | What went wrong | The fix |
|---|---|---|
| Sour, sharp, thin, fast fade | Under-extracted | Grind finer (or push yield to 1:2.5) |
| Bitter, dry, hollow, ashy | Over-extracted | Grind coarser (or pull back to 1:1.5) |
| Balanced, sweet, clean, lingering | Dialed in ✅ | Nothing. Drink it. |
| Sour AND bitter together | Channeling / uneven puck | Fix puck prep, not grind |
Change one thing. Pull again. Taste again. That's the whole loop: taste it, write it down, pull it again. ⚗️
Most beginners are scared of grinding finer because it feels aggressive. It isn't. A finer grind slows the flow and pulls more sweetness out of sour coffee. Nine times out of ten, “finer” is the answer to a sour shot.
Step 5: Hone the Grind for Peak Extraction
Once the shot tastes decent, you can chase the last bit of quality. The move here: grind as fine as you can while the shot still tastes good.
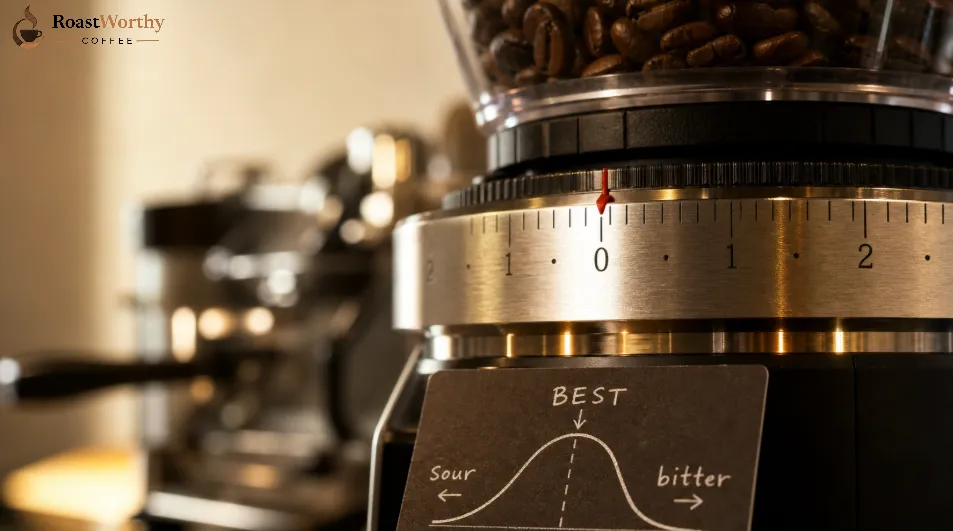
Finer grind exposes more surface area, so more flavor extracts. You get more body, more sweetness, more of what makes the coffee interesting.
But there's a ceiling. Grind too fine and water can't move through the puck evenly — it tunnels, extraction drops, and the shot swings back to sour. Strangely, over-fine shots sometimes speed up instead of slowing down. That's your channeling tell.
So the technique is simple. Grind finer one step at a time until flavor peaks… then drops off. When it drops, back off exactly one step coarser. That's your setting. The curve doesn't lie.
How to Dial In Espresso: Step-by-Step Summary
Here's the full sequence, in order:
- Dose 18g. Lock it.
- Grind to hit ~30s for a 36g yield.
- Pull the 1:2 shot. Note the time.
- Taste it. Sour → finer. Bitter → coarser.
- Adjust one variable. Re-pull. Re-taste.
- Once balanced, hone the grind for max flavor.
- Write the winning recipe on the bag.
Keep a dial-in log. Date, beans, dose, yield, time, grind number, one tasting note. Boring? Sure. But it turns next week's 15-minute struggle into a 2-minute setup. Your notes are the actual skill — not your machine.
Common Mistakes That Waste Your Beans
Does Machine Type Change the Dial-In?
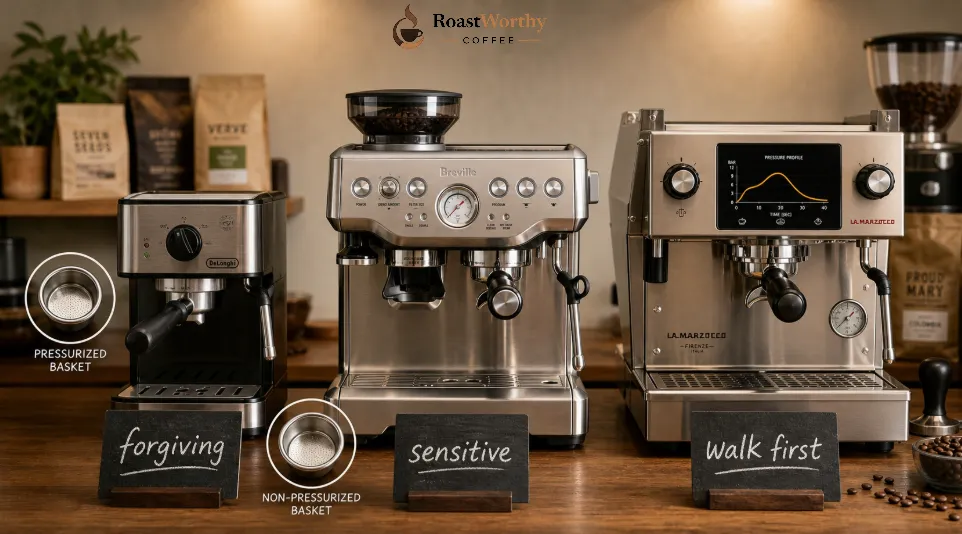
A little. The principles never change — dose, yield, taste — but the feedback does.
Whatever the machine, the loop is identical. Weigh, pull, time, taste, adjust one thing.
Frequently Asked Questions
What does it mean to dial in espresso?
It means adjusting your grind, dose, yield, and shot time until the espresso tastes balanced — not sour, not bitter. You're matching the recipe to your specific beans and machine.
What is the best espresso ratio for beginners?
Start with a 1:2 ratio: 18g of coffee in, 36g of espresso out, in about 25–35 seconds. It's balanced and forgiving. Move to 1:1.5 for a stronger shot or 1:2.5 for a lighter one.
Why does my espresso taste sour?
Sour means under-extraction. The grind is too coarse and water rushed through too fast. Grind finer to slow the shot and pull more flavor.
Why does my espresso taste bitter?
Bitter means over-extraction. The grind is too fine, or you pulled too much liquid. Grind coarser, or shorten the yield.
How long should an espresso shot take?
Usually 25 to 35 seconds for a 1:2 ratio — but it's a guide, not a rule. Some light roasts peak past 40 seconds. Trust your palate over the clock.
Do I need to re-dial for every new bag?
Yes. Different beans, roast levels, and freshness all change how coffee extracts. Re-dial each new bag — after some practice it only takes two or three test shots.
Key Takeaway
Dialing in is a taste-led loop, not a fixed formula. Start at 18g in, 36g out, 25–35 seconds. Then grind finer for sour, coarser for bitter — one change at a time — until the cup is balanced.
Your first shot will be imperfect. Pull it anyway. Your tenth will be excellent.
More Recommendations from RoastWorthy Coffee